Shopping Cart
There are no more items in your cart
- News
- 0 likes
- 1071 views
- 0 comments

|
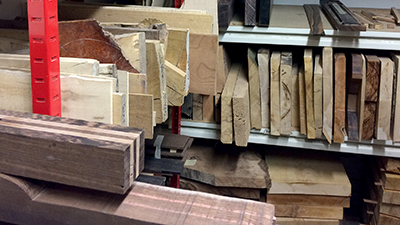
Before the course began all students were given a tour of the workshops and timber storage areas. There were a good mix of students on the week our course took place; a student part way through a three-month course was there, along with two more students taking part in a six-day course, one of whom had travelled from Canada. Around half the students come from overseas. After the tour we went to the humidity and temperature controlled indoor timber storage area to choose our materials (Fig 1). This room is also used for storing work in progress, so as to keep the instruments in the ideal conditions to stop any possible warping. |
Fig 1 |
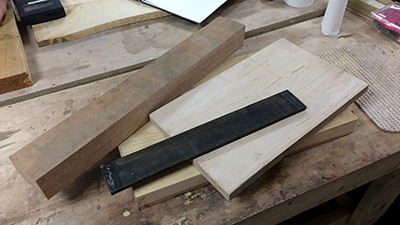
| For this guitar, we decided upon an Ash body, Meranti neck, Ebony fingerboard and Sycamore book-matched top, (Fig 2). The Sycamore had a beautiful streak through the grain which was caused by a piece of lead gunshot trapped in the tree and as it grew, the minerals from the lead coloured the timber and travelled through it. |
|
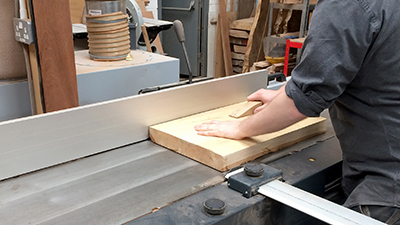
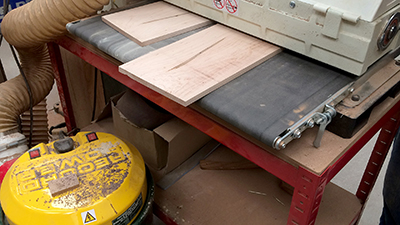
| The timber was rough-sawn so the first job was to dimension the body, top and neck using a planer thicknesser (Fig 3) to ensure the pieces were of an even, consistent thickness and good surface finish. The fingerboard, although rough-sawn, was too thin for planing so had to be sanded instead. |
Fig 3 |
|
The next job was to create the book-matched top piece from the Sycamore. Using a bandsaw we carefully cut the Sycamore down its middle (Fig 4) then ran both pieces through a sander on both sides until they were of matching thickness and fairly smooth (Fig 5). Like the Ebony fingerboard, they were too thin and delicate to cope with being machine-planed. |
Fig 4
Fig 5 |
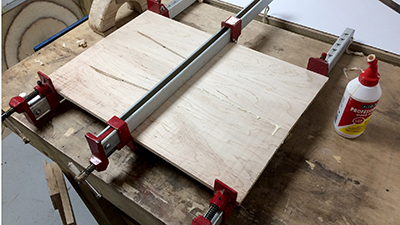
| Once sized, we needed to decide on which sides to butt up to each other. The technique of book-matching involves splitting a piece of wood down its middle, as if converting it to a two-page book. Once cut, the pieces can be laid flat and the 'spines' of the book laid adjacent to each other. This creates a beautiful and near-symmetrical reflection of the wood grain down the centre of the guitar and the trick is to choose which arrangement gives the most attractive look. The edges that were to butt together were then hand-planed to ensure they would be perfectly straight and touch each other without any gaps. Once planed, they were glued and clamped (Fig 6) and left to set while we worked on the guitar neck. |
Fig 6 |
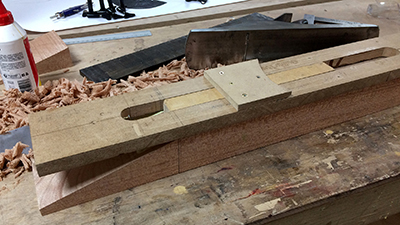
| We marked the centre line of the neck blank as a reference for all the other measurements then using a template drew on the shape of the headstock at one end (Fig 7). The straight line at the bottom of the headstock which is at 90º to the length of the neck serves as the nut line. From this line we marked a 15º angle downwards towards the bottom of the blank. We then cut along this line roughly on the bandsaw, leaving 2-3 mm clearance and hand-planed this face until it was flat and extended right up to the nut line (Fig 8). Some experts tips from the tutor made sure that the planing went smoothly, using a cabinet scraper for final adjustments. |
Fig 7
Fig 8 |
|
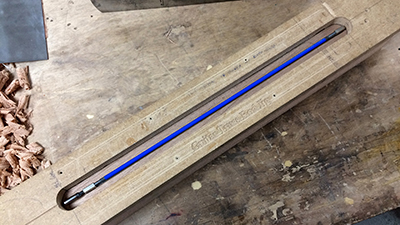
Guitar necks feature a truss rod - a tensioned steel assembly, adjustable from the headstock of the guitar to correct any warping in the neck caused over time by changes in atmosphere. We used a router jig attached to the neck as a guide for the router (Fig 9), and plunged the router to the correct depth for the truss rod, making two passes to ensure a good finish, the first at half-depth and the second at full (Fig 10). To fix the jig to the neck, we used masking tape stuck to the neck and the jig itself, with a thin line of superglue to hold them together. This gives a superb strong hold but when finished the jig can be pulled off with relative ease and no damage. |
Fig 9
Fig 10 |
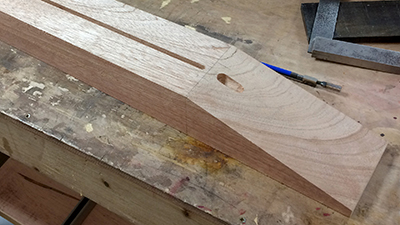
| The truss rod routing involved two channels being made, the main and longest channel holds the truss rod itself and the much smaller channel on the headstock gives access for an Allen key to adjust the rod. These are not joined on the surface but a hole must be drilled beneath the surface to join the cavities together (Fig 11). If it was one continuous channel this would be visible in the headstock of the finished guitar. Before drilling the connecting hole we used a 6 mm bevel edged chisel to square off the rounded ends left by the router bit. The ends of these particular truss rods had an adjusting mechanism slightly wider than the rest of the rod so the cavity had to be widened slightly at one end to accommodate this. |
Fig 11 |
|
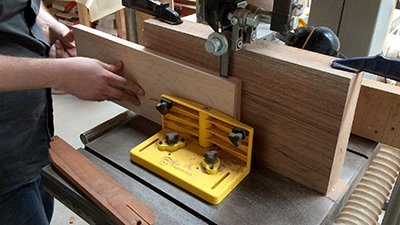
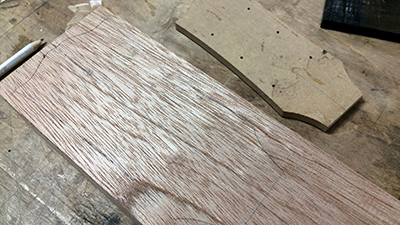
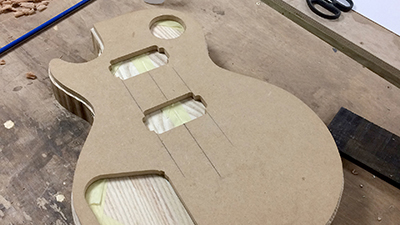
We then placed the neck to one side and worked on the body. A pre-cut MDF template was used to create the shape of the body, the classic Les Paul Junior style. After careful consideration of both sides of the Ash and all possible orientations and placements, I decided which looked best through making the most of the grain features then attached the template to the timber, again with masking tape and superglue. We then cut around the template on the bandsaw, leaving a 3-5 mm clearance (Fig 12). |
Fig 12 |
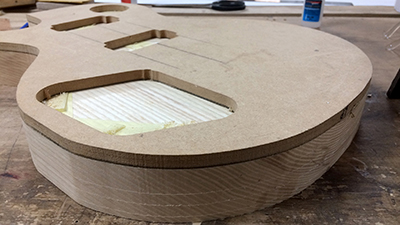
| With the template attached, it was time to move to the router and router table. The timber was placed with the template face-down on the table and the router bit set to take of a section of wood from the lowermost part of the Ash. The tutor performed the first pass, giving me some good tips on how to safely move it around the router bit and I performed the remaining three passes, resulting in the edges of the whole body shape being defined and finalised (Fig 13). |
Fig 13 |

Comments (0)